Galaxy Microsystems Ltd.
Search
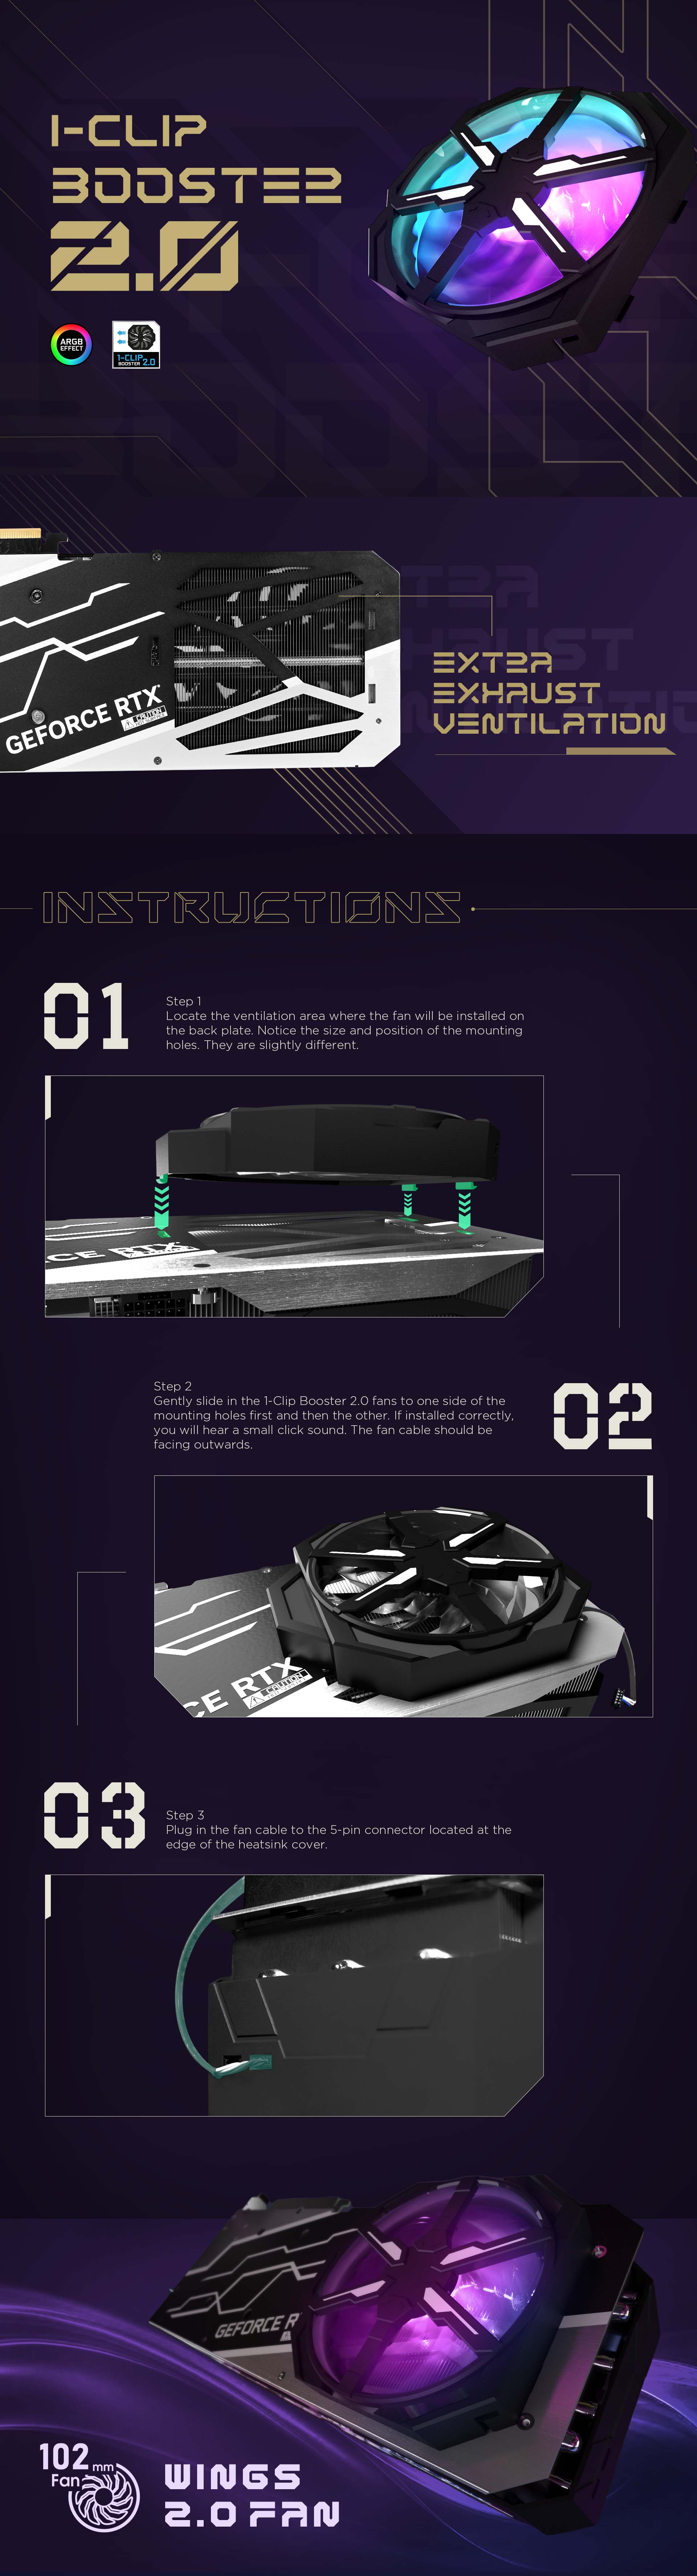
1-Clip Booster 2.0 Installation Guide
1-Clip Booster 2.0 fan can be installed on the back of the PCB, creating a push-pull effect for enhanced cooling performance. Please follow the instructions below to install the fan.
Clip on fan is 22mm X 130mm in height and length, and is 193mm away measured from the graphics card bracket, please check your motherboard for compatibility before installation
Step 1
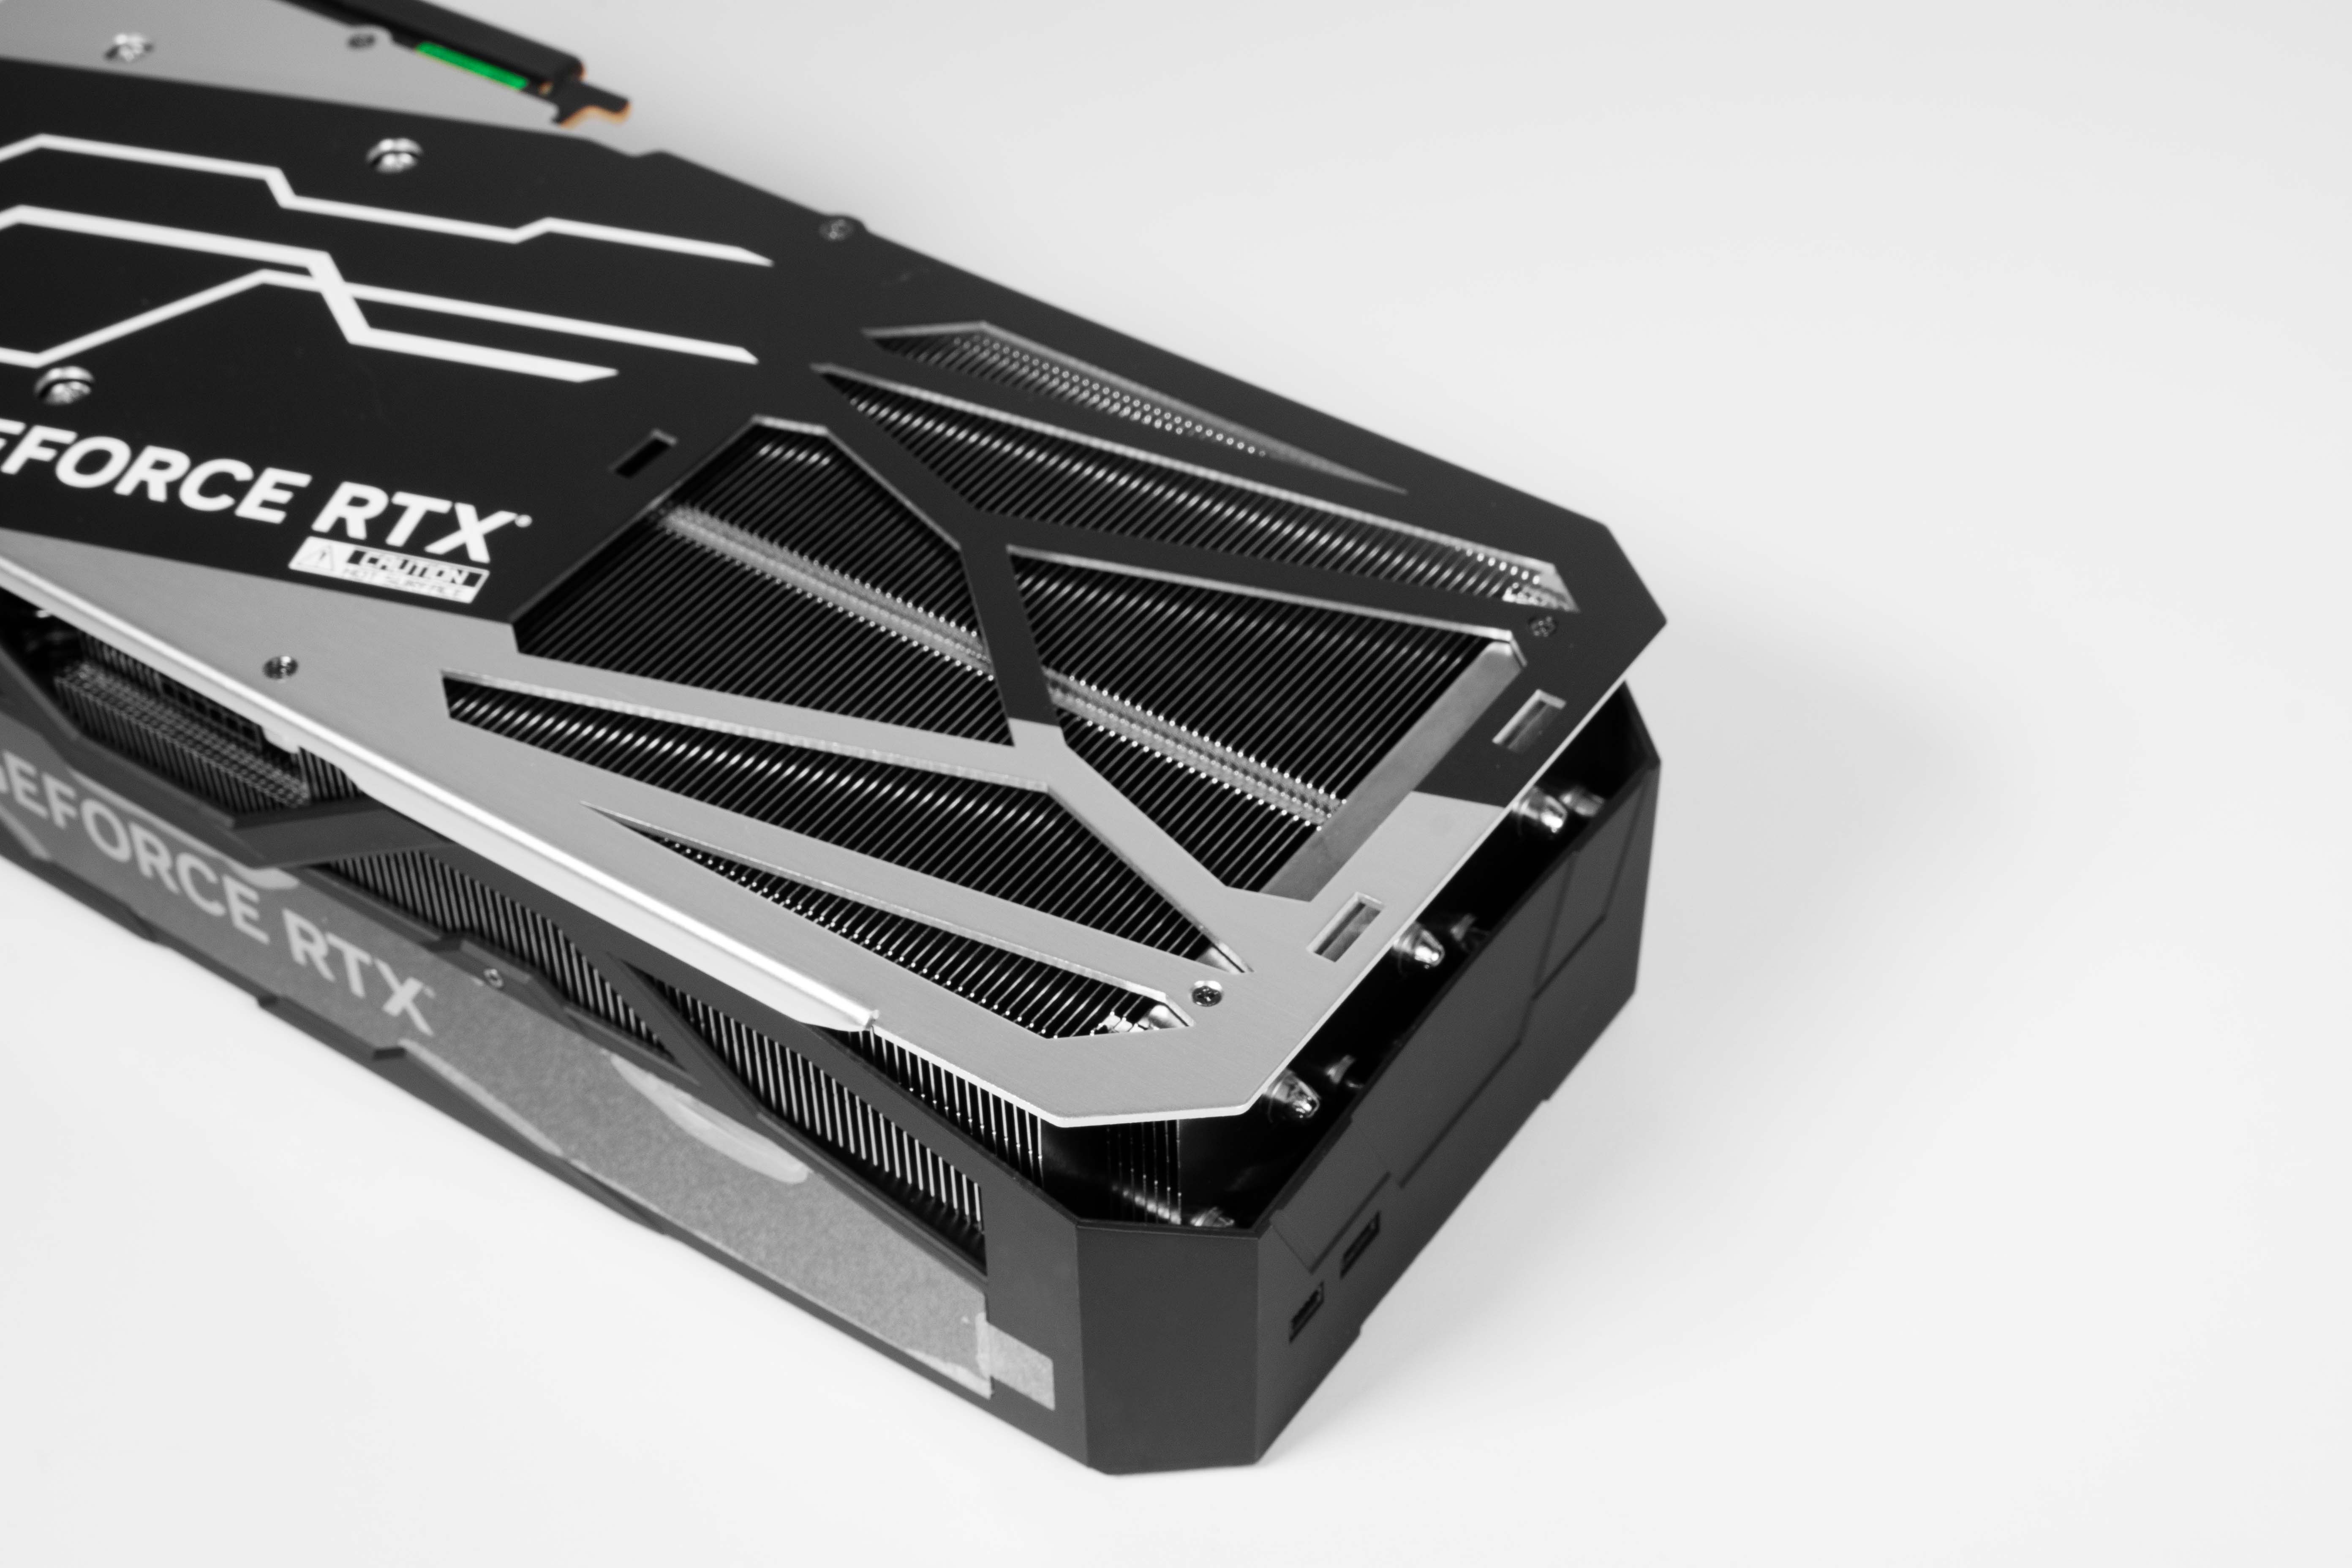
Locate the ventilation area where the fan will be installed on the back plate. Notice the size and position of the mounting holes. They are slightly different.
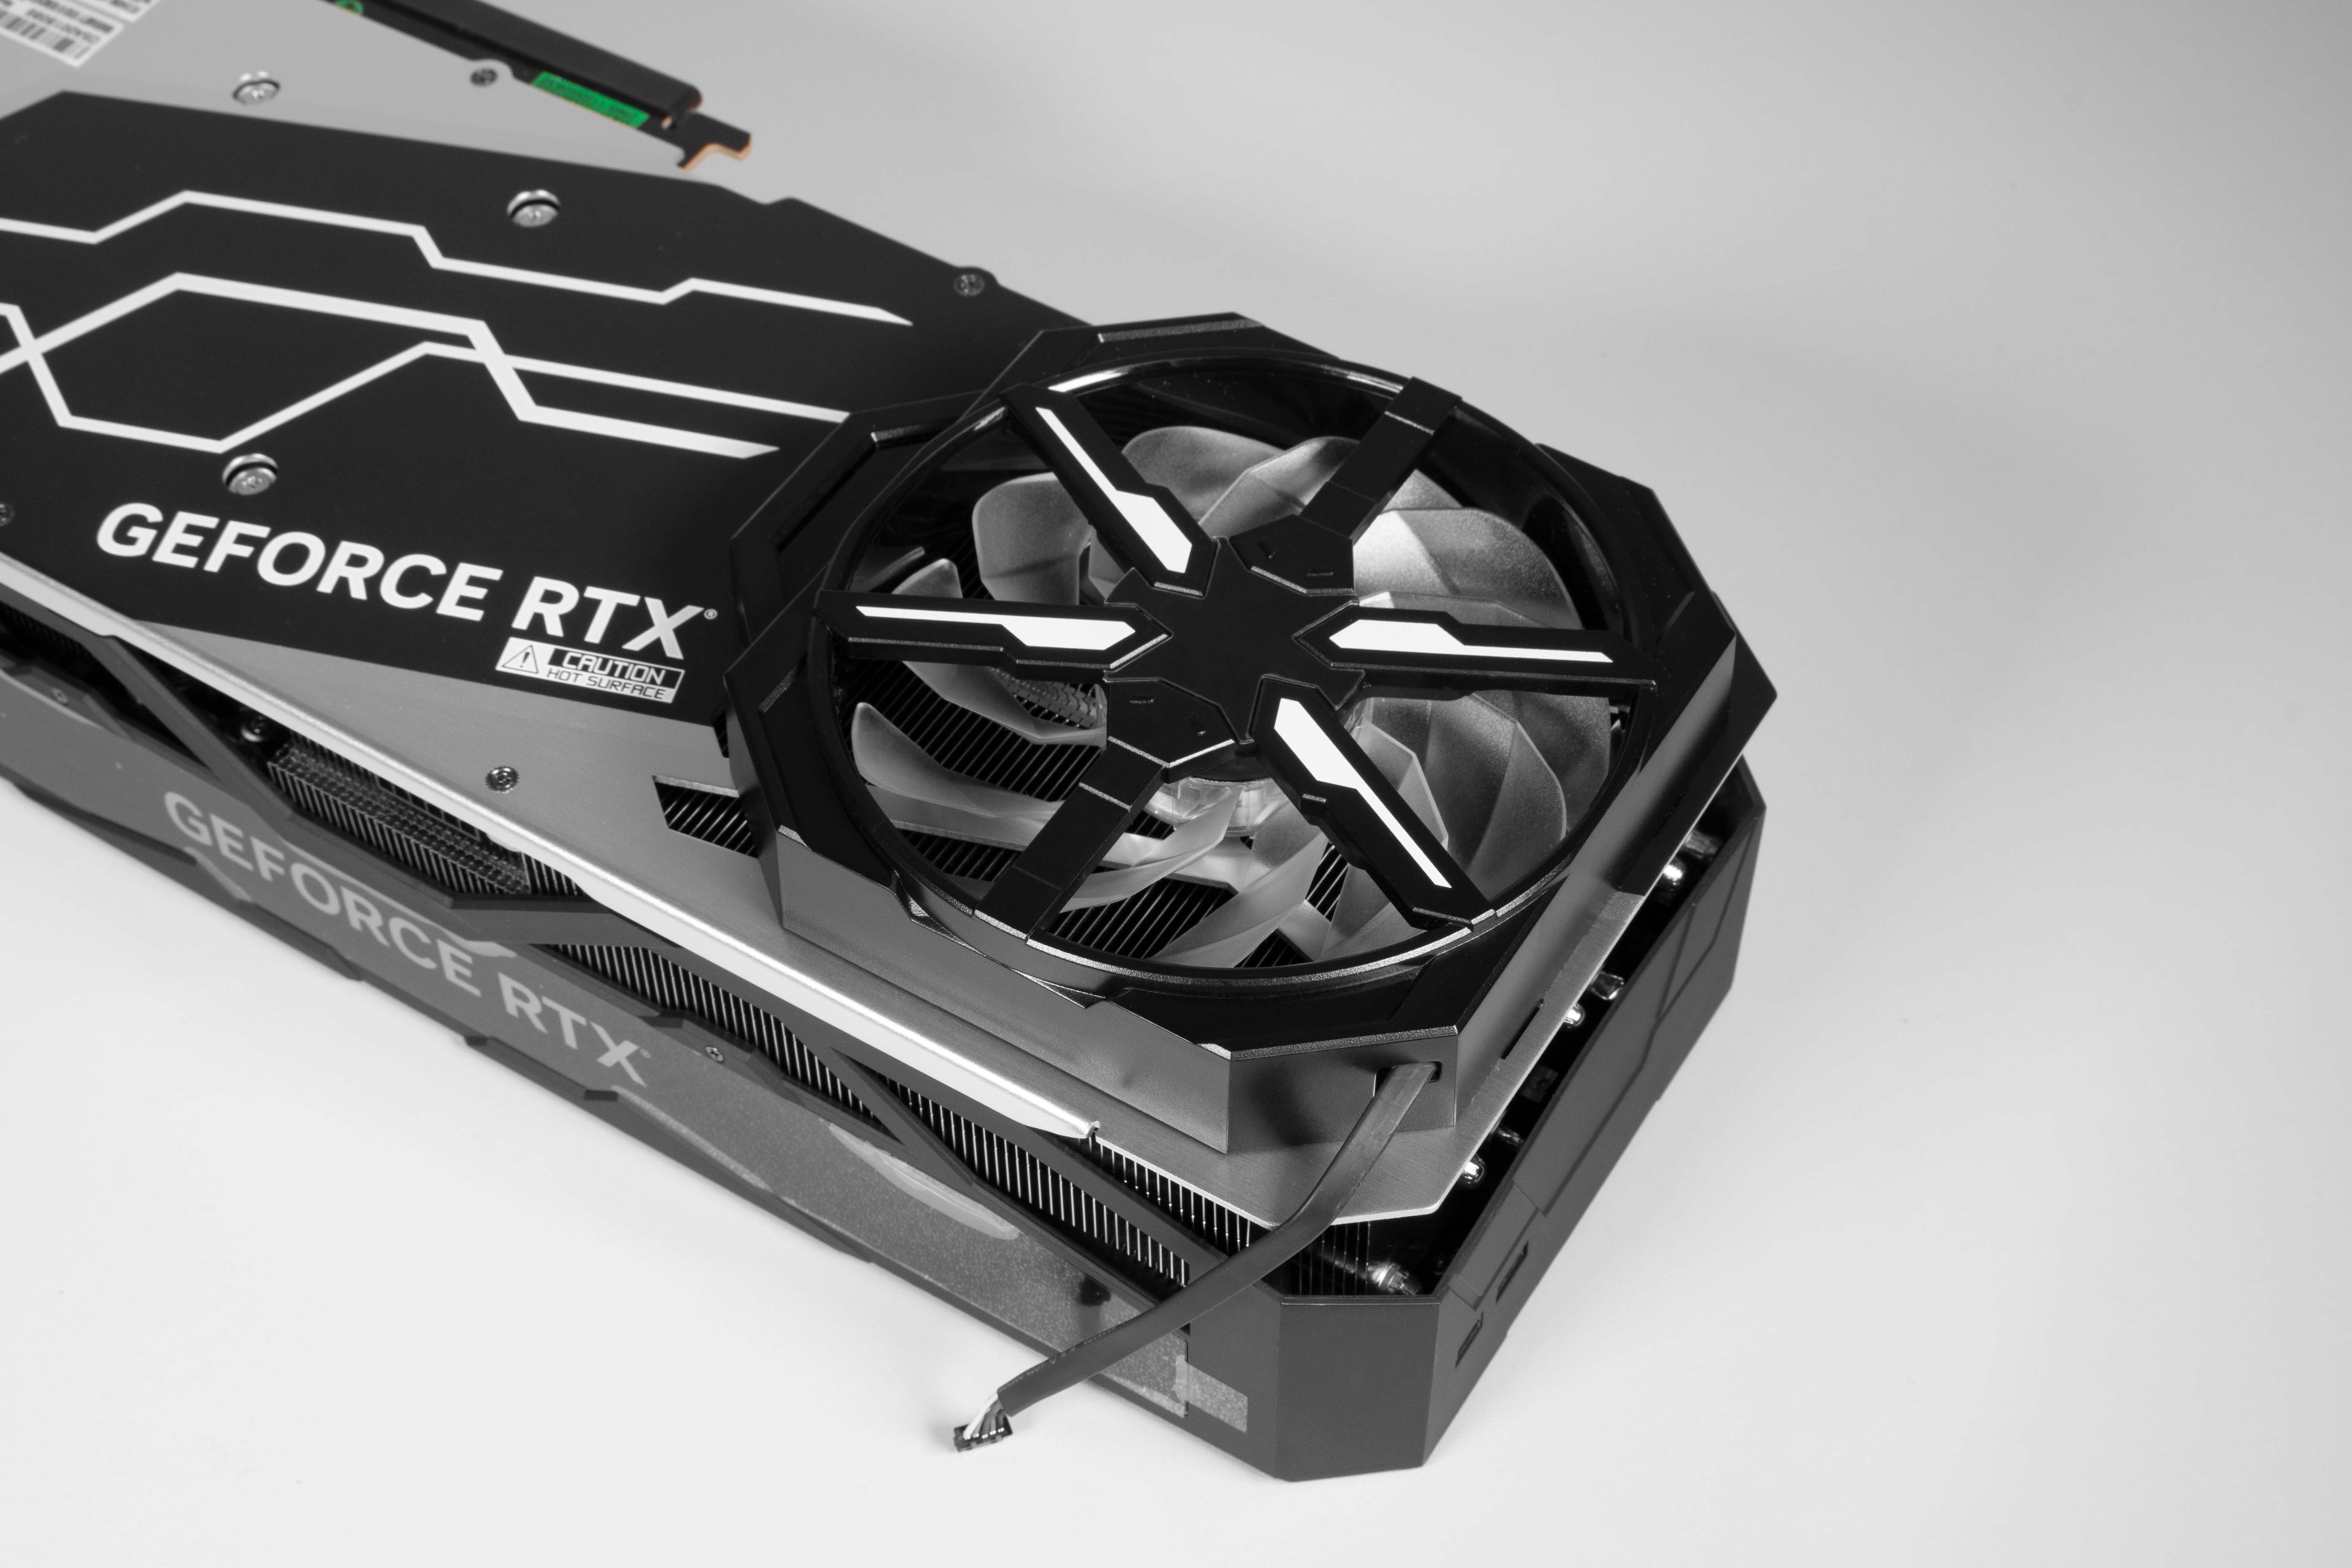
Step 2
Gently slide in the 1-Clip Booster 2.0 fans to one side of the mounting holes first and then the other. If installed correctly, you will hear a small click sound. The fan cable should be facing outwards.
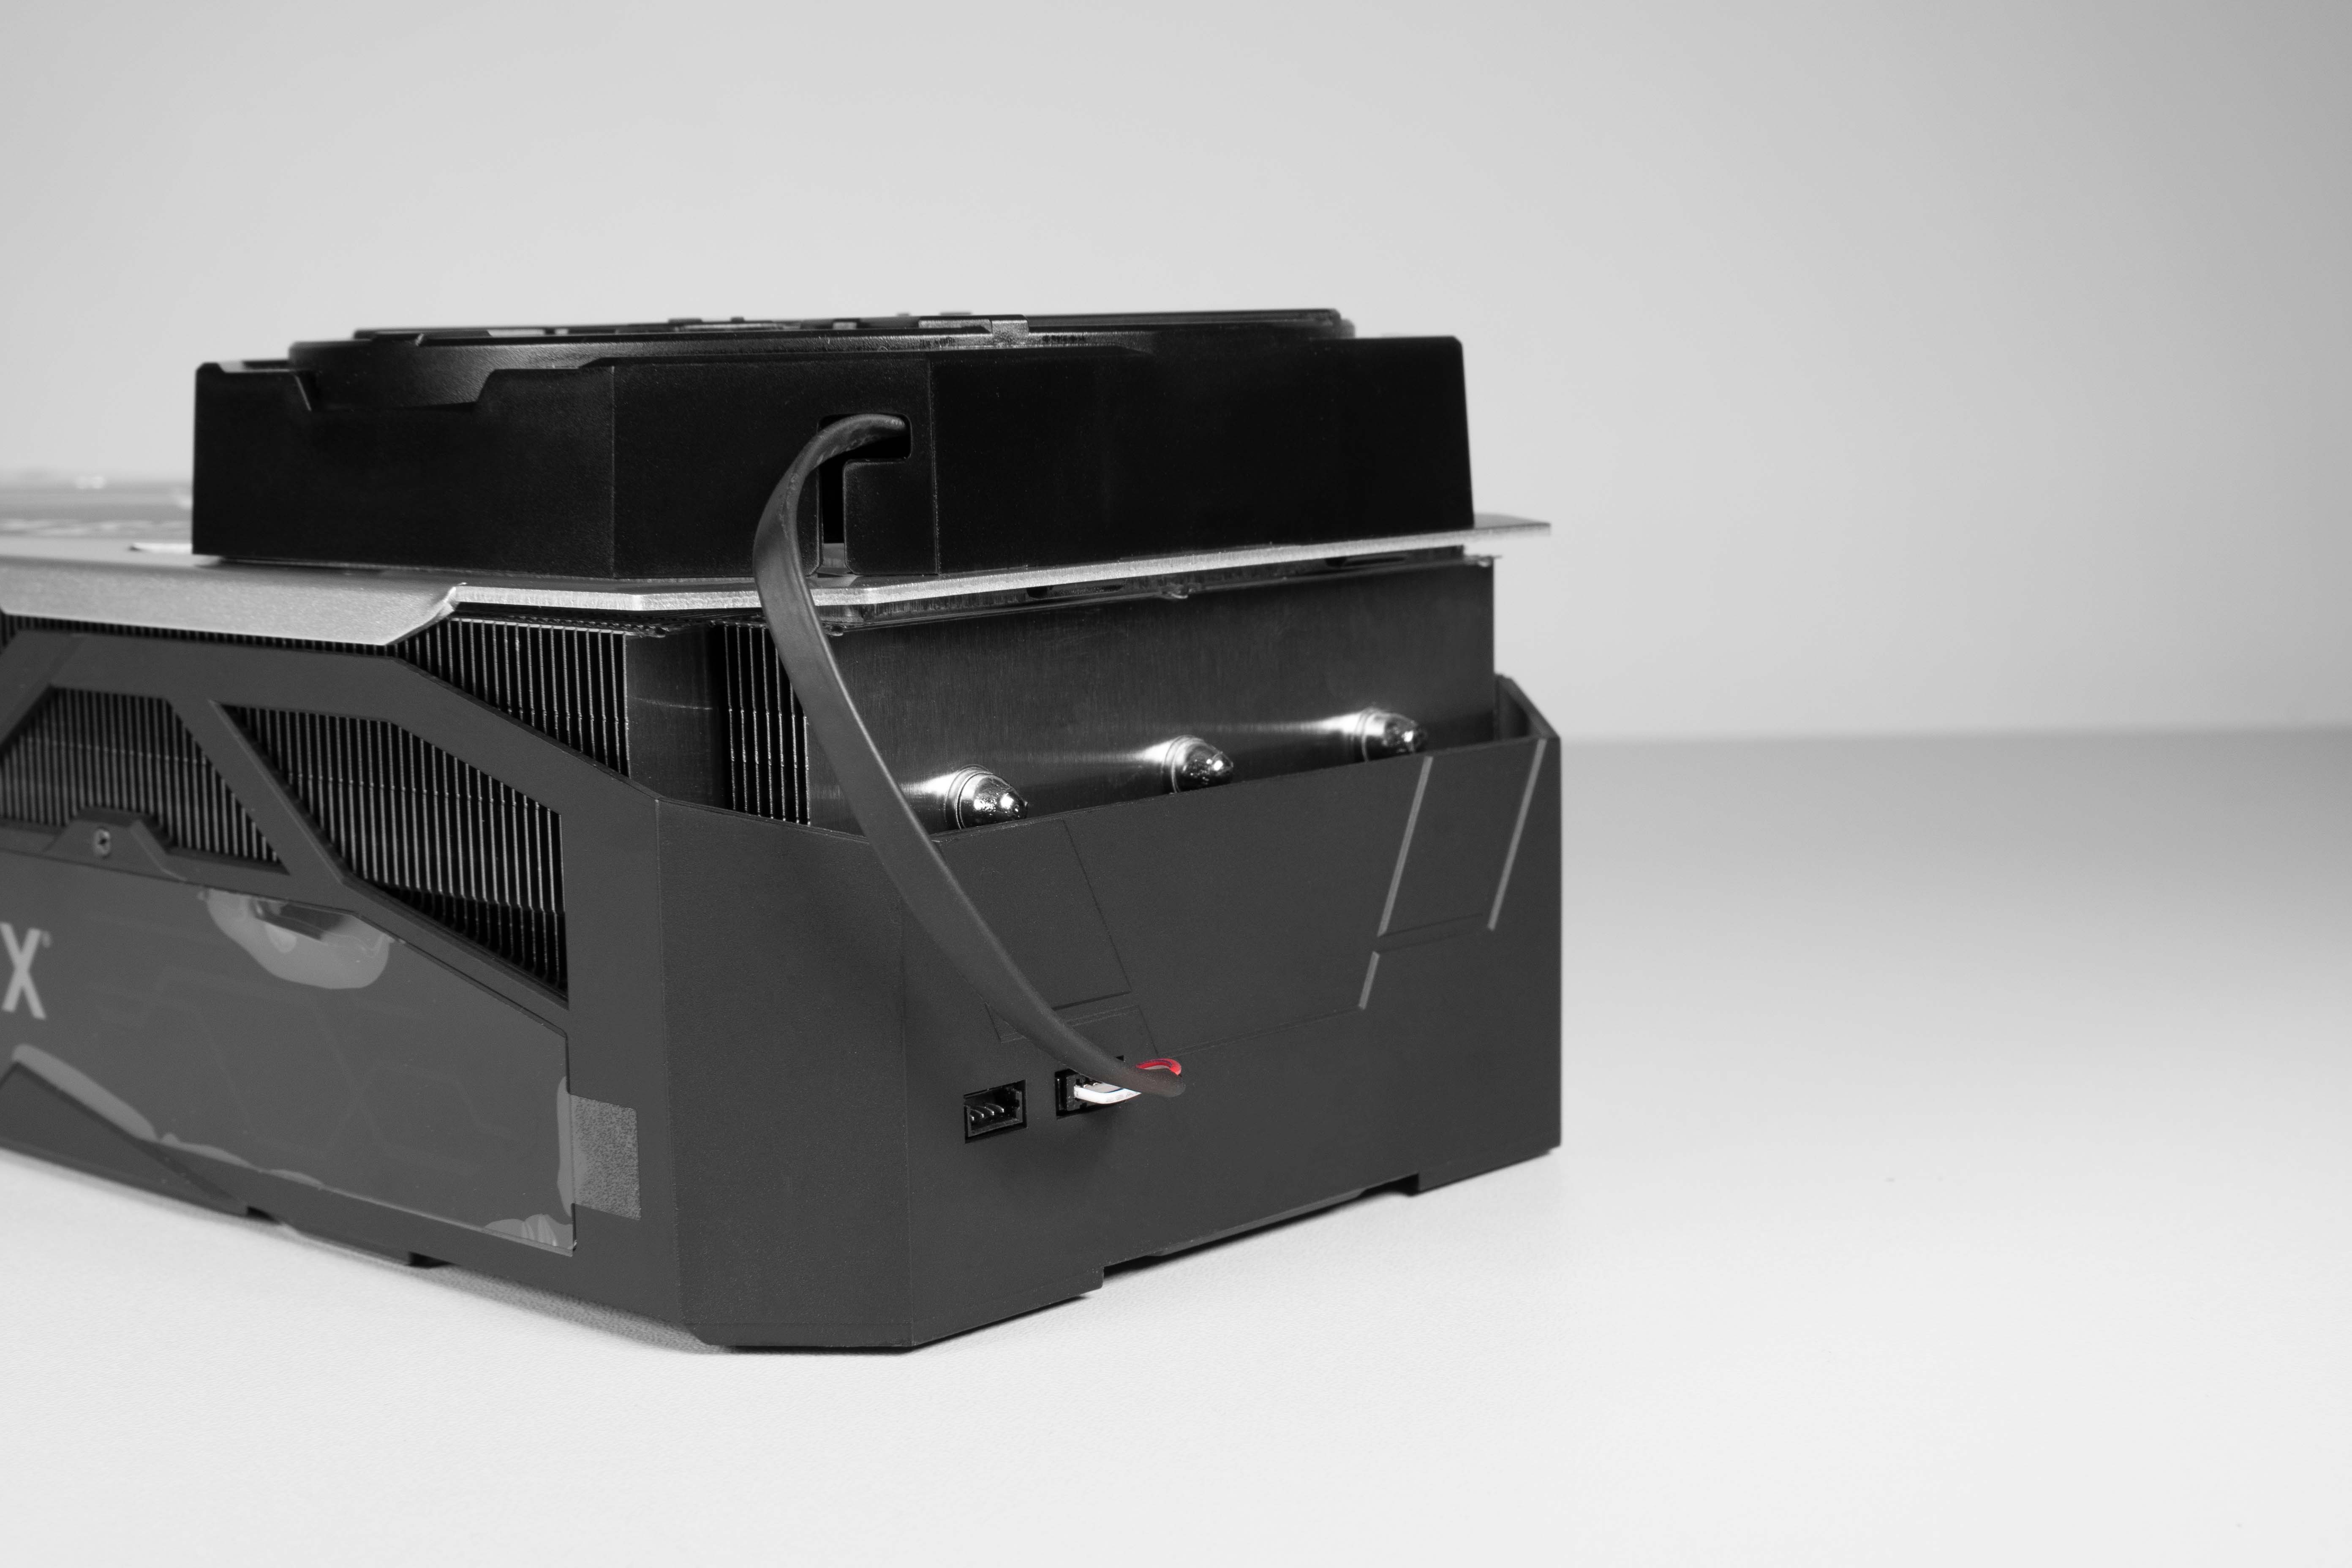
Step 3
Plug in the fan cable to the 5-pin connector located at the edge of the heatsink cover as shown in the picture below.
To uninstall, simply reverse the directions listed above.